
Menu board specifications
Fast‑food and sit‑down outlets mount printed menus across a row of panels above the serving area, so clear size notes and layout guidance help prices and product groups stay aligned from one end of the board to the other in each store.
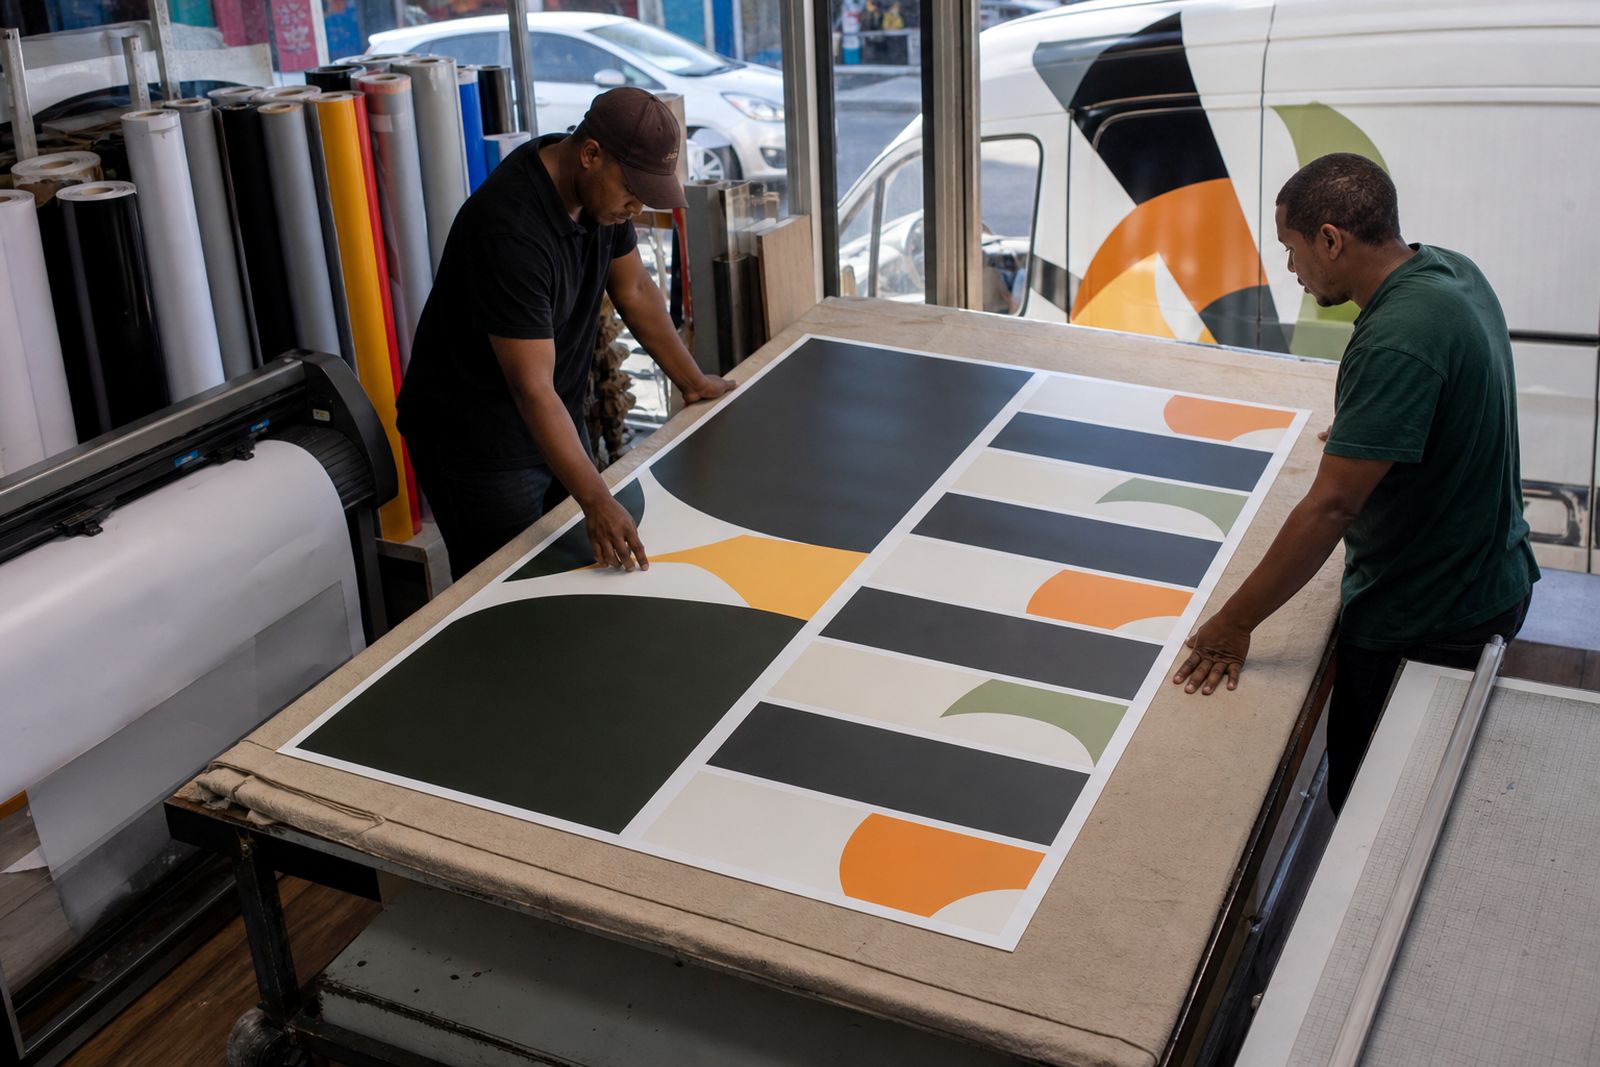
Panel sizes before artwork build
Artwork built to the confirmed panel sizes and layout notes keeps pricing, product names, and panel details consistent across the full board set, and the same checks are applied again when print‑ready PDFs are generated.
Overall menu width and height, total panel count, and the fixing method at the outlet all influence where line breaks fall, what type size is practical, and how joins land along the span of boards. Menu pricing, combo blocks, and product names must stay legible at the viewing distance customers have from the service counter in each outlet, not only on a screen proof. Light from a large glazed entrance can wash across the boards, which pushes type weight and contrast harder.
Written layout notes for the menu zone indicate how each printed panel lines up in sequence across the serving area. Frame edges, loose cables, bulkheads or menu lightboxes that might cut into the design are described, with their positions and measured sizes. These details then make it possible to reprint a damaged panel so it drops back into the installed set without shifting neighbouring boards.
Menu board trim, bleed and reading order
Runs of menu panels rely on trim size, bleed, scale, and reading order that match how customers naturally scan from one board to the next at the service counter in each outlet. Artwork may arrive as one continuous layout or as separate print‑ready panels. Clear file naming keeps kitchen items, prices, and optional extras easy to follow from the left‑most panel across to the last one.
Key points to confirm for each menu board run include:
- Visible size and trim size
- Sequence of panels laid out to follow the in-store serving flow
- Board sizes matching the installed frames or structure
Store and site factors for menus
Older store interiors carry timber or mixed‑metal frames, patched walls, or bulkheads that leave reduced viewing areas, uneven panel gaps, or screw positions that must sit clear of key pricing. Replacement work states whether the new print lines up with an existing menu set in that store or follows a revised campaign layout used across the group.
Boards above fryers, coffee machines or open serving hatches take steam, grease and frequent cleaning, so a harder-wearing finish keeps wording and panel joins sharp. Backlit menus should remain readable under both their own lighting and general ambient light.
Final checks before menu files go to print
Final menu artwork includes confirmed prices, product names, and any mandatory legal wording. Items that differ by outlet, such as halal menus, promotional meal names, or language variations, are clearly marked so each store receives the correct version.
A signed‑off spec that lists panel sizes, crop positions, finishes, and the correct menu version used at each outlet lets any later single‑panel reprint match the installed set without guesswork.
What our Signage and Graphics customers say
Verified Google reviews
Also worth a look
Tell us about your shopfront, vehicle or graphics job
Share the site or vehicle, rough sizes and your date, and we will come back with practical options and a quote.
Start an enquiry